
This May, I finally had my wedding celebration that I was planning for the past two years. I was already legally married and was going between Seattle and Vancouver and originally wanted to wait till I was settled down in Vancouver to have my wedding.
Since I had quite a bit of time, I wanted to DIY parts of my wedding and also keeping it simple. My wedding turned out amazing and super pretty! It was definitely challenging at first but very fun.
From my own wedding planning experience, I gained a lot of knowledge on the timeline and little pieces of the planning process. Here are my top tips for wedding planning.
#1: Start Early! (1 Year+)
I highly recommend having more than one year to plan so that you don’t feel stressed out throughout the process. Even though I had so much time, I still felt crunched on time because some major decisions took a while.
For example, I had trouble finding my ideal wedding dress and tried over six different stores and probably 20+ dresses. Initially, I wanted a mermaid dress but felt that a ballgown dress was more fitting for a once in a lifetime event. So I was on the search for a sweetheart ballgown with off-shoulder sleeves. I wanted something easy to move in, didn’t have too much lace patterns, and had some glitter on it.
Some other major decisions: venue (indoor versus outdoor), wedding party and gifts, bachelorette, bridal shower, makeup artist, hair stylist, photographer, videographer, catering, florist, wedding favours, website, save the dates, invites, and more.

#2: Make Use Of Canva (Save The Dates, Invites, Itineraries, Seating Charts, Prints)
Canva had a bunch of pretty templates to use and really helped my speed up the process of designing my own prints. I ended up using their printing service as well even though it was on the pricier side. I used it for my invites in which I gave out physical copies to my close friends and family members.
I bought some pretty lavender-coloured vellum jackets off Amazon to use in my wedding invitations as well. For my save the dates, I sent those out digitally along with a personalized message around eight months before the wedding date.
For other photo prints, I ordered off Walmart as it was an easy process, affordable, and had quick shipping.
#3: Make Use Of Etsy (Wax Seals, Wedding Party Gifts, Personalized Wedding Favours, Welcome Signs, Table Signs)
There are so many talented artists and shops on Etsy! I ordered custom wax seals for my physical invitations and I loved them. You can peel them off like stickers and stick them on the envelope. I also purchased some ribbons!
For your wedding party, there are gift bundles that you can also customize. For wedding favours, I looked all over and finally settled on the cute tea jars where you can also customize the tags. The cost was about $100 for 80 pieces, which was fair because if I tried to make them myself, it would’ve costed around the same and take up a lot of my time.
For wedding sign, I ordered the stand off Amazon and then an acrylic sign with gold lettering from Etsy. The cost was about $100 but I loved it! The shop was also able to drill holes for me to hang on the stand but I had forgot to ask. Silly me!
Lastly, I found table sign templates that I liked and the shop also prints them and cuts them up for me. It was only about $20 for 10 signs. I highly recommend making use of Etsy!

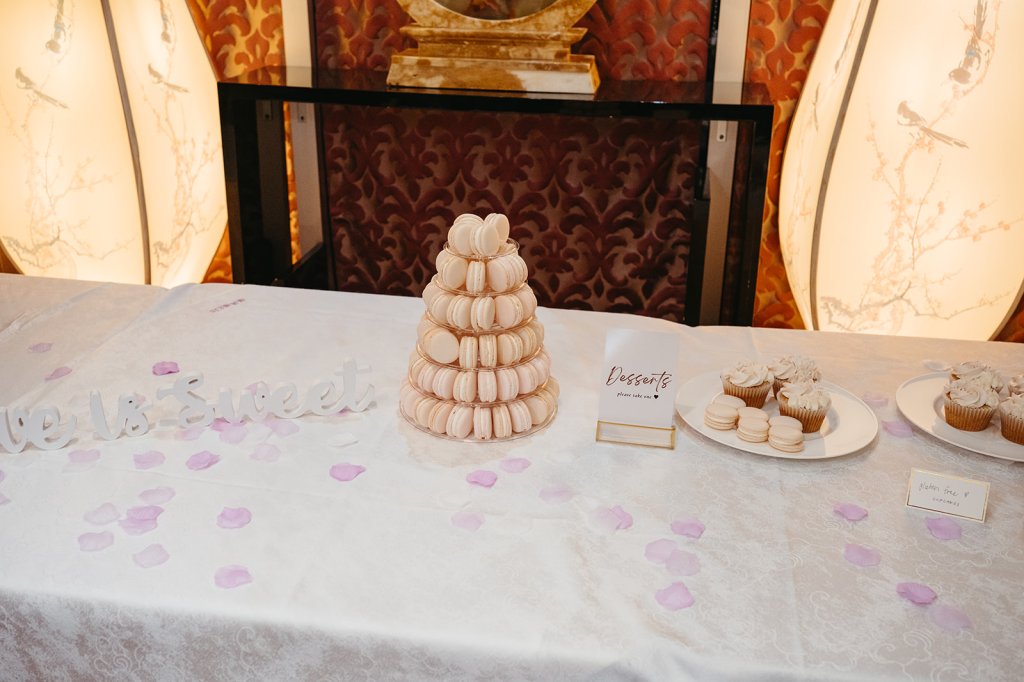
#4: Balance Fresh & Realistic Faux Flowers
If you’re like me and don’t want to spend too much of the wedding budget on fresh flowers, here are a few tips. I love fresh flowers and would be happy to support local florists, but they can really add up. I had already went over my budget for mine, and I also don’t really know what to do with so many fresh flowers after my wedding.
First, it makes sense to pick fresh flowers for your bouquet, bridesmaids bouquets, corsages, boutonnieres, and table centrepieces. As for other decorations, you can consider Sola Wood Flowers, Etsy vendors, or Ling’s Moment, which are all popular alternatives. Personally, these flowers look so real to me and are so pretty!
If you’re doing a bouquet toss, you can ask your florist if they can give you a sample.

#5: Timeline & Roles Template, Vision Boards
A big part of wedding planning was staying on top of the timeline and communicating my vision to my coordinator, venue, and wedding party. My friend had an extensive template I could use which was very helpful. I mapped out the important dates and tasks, tracked my expenses, vendors, listed out the timeline and tasks for the wedding day and assigned roles. I also had the seating chart and guest list on there.
I put together a Pinterest board, as well as a Canva vision board of my sketches and inspiration for how the ceremony venue and reception venue should look. This allowed me to be more hands-off during the wedding day!
#6: Hire A Day-Of Coordinator
Many of my friends also use a day-of coordinator and I personally highly recommend it. If you have the budget for it, definitely hire a wedding planner. Otherwise, a day-of coordinator is super helpful! My coordinator kept in touch with me throughout the process and on the day of, she gathered all the important people and helped me with the decorations and timings of each event.
She referenced my vision board while also adding in her experienced touches to the decoration – I loved it! They generally cost around $1,000-$5,000+.
#7: Look For Photography & Videography Packages
Let’s be honest – photography and videographer can really add up! I definitely recommend spending time looking for appropriate vendors. This will be a big chunk of the budget.
What helped me the most was looking at different offers and packages, rather than hiring a photographer and videographer separately.
#8: Online RSVP Website
Nowadays, online RSVP is more popular and efficient than mailing out invitations and receiving responses by mail. I do love the personal touch to it but I didn’t want to stress about managing hundreds of invites. I also didn’t have everyone’s addresses.
For my wedding website, I used Zola, which also came with an online RSVP feature, but there were other options too such as The Knot and Wix. I just use the free version and it was sufficient for me. The only challenge was importing the guest list and making sure the emails and names are organized properly.
When the RSVP deadline was close, I DMed my guests to remind them and they simply go on the website to respond. It was a very smooth process!
Extra Tip: Tea Ceremony
I also hosted a Chinese tea ceremony with my family. I went to Hong Kong to buy the Qun Kwa and some wall decoration. There was a huge shopping mall in Prince St Station. The kneeling pillows can be ordered off Amazon which was pretty good! There are also outfits on Etsy.

Reflection
Before my wedding, I have really only been to about two of my friends’ weddings and had no idea what to expect. I didn’t know much about wedding planning at all. From all the research and tips from my friends, these were the main findings that helped me achieve my vision. I hope it helps you!

Leave a comment